The Best of Both Worlds – Part 1
Product / April 2017
motogadet keeps its cards close to its chest. The reason: Carefully thought-out details are the secret to a good product. However, we will be taking a look behind the scenes at classic instrument production to air a few of their secrets.
“If you want something to be really good, make it yourself“! This was the motto on which motogadget was founded many years ago. And little has changed since then. The brains behind motogadget, Garrit Keller and Heiko Stahl, still believe that it takes 100% dedication and total control to cater to customers’ needs and realize their own visions. That might sound very German. And it is indeed the case! However, the two men are extremely proud of this trait.
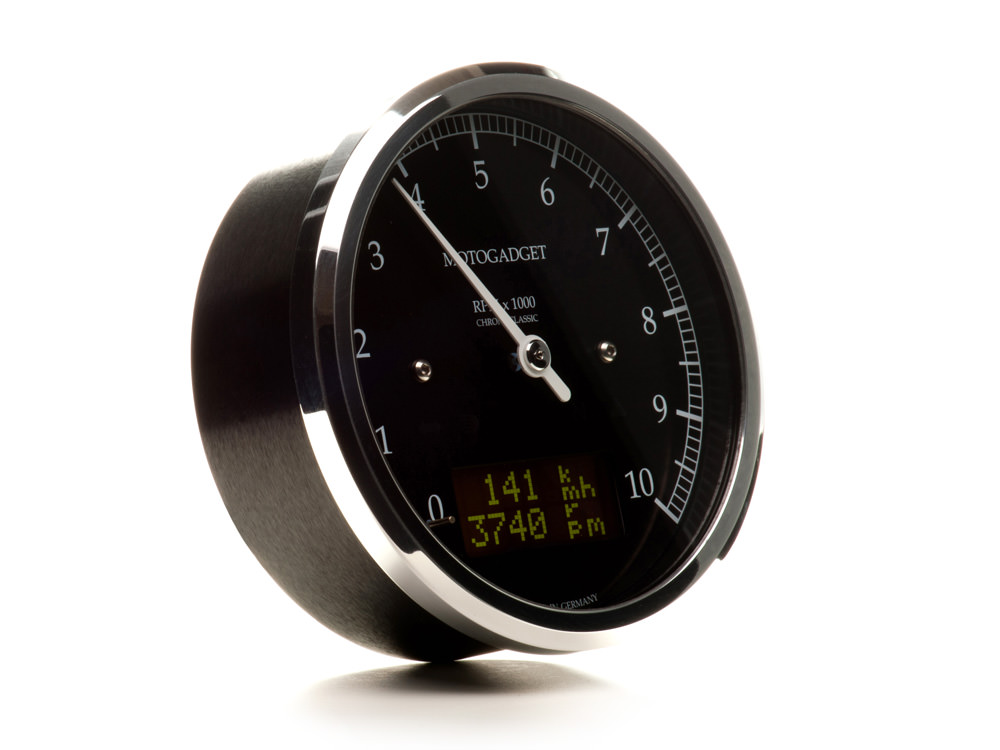
Their Classic series production is a good example of their German perfectionist ways. The analog gauges for traditional motorcycle modifications are manufactured at an impressive machine park in Berlin before being thoroughly tested and fitted by hand. Industry meets factory – in other words, the best of both worlds. Yet everyday customers aren’t allowed to see the manufacturing stage – access denied! I was nevertheless given the opportunity to observe the production processes under the watchful eye of the two bosses. A rare insight.
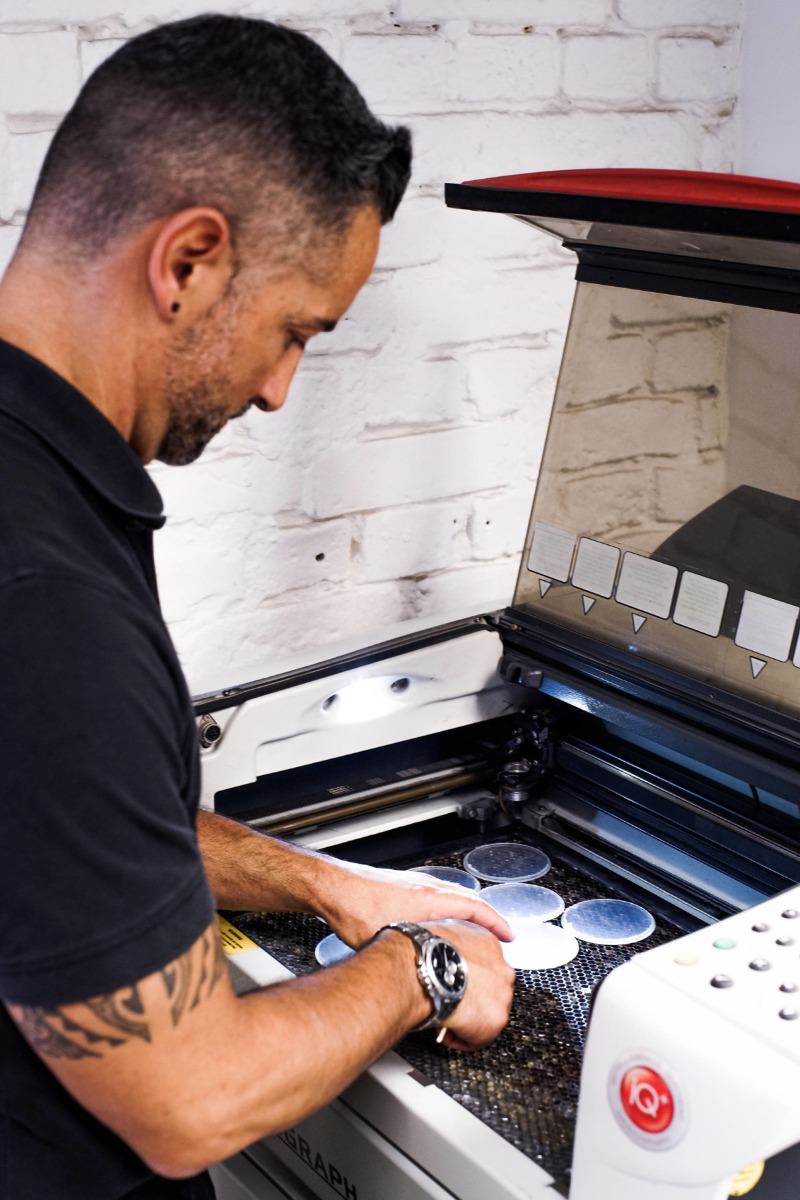
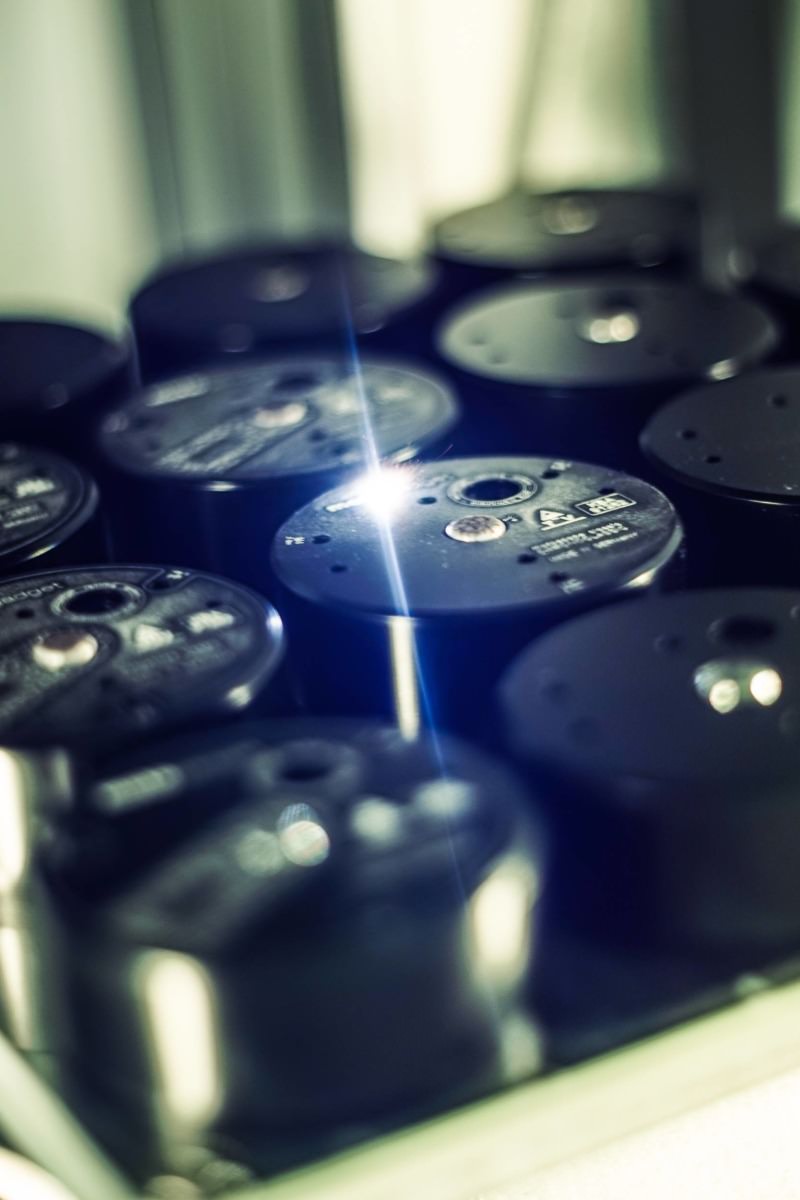
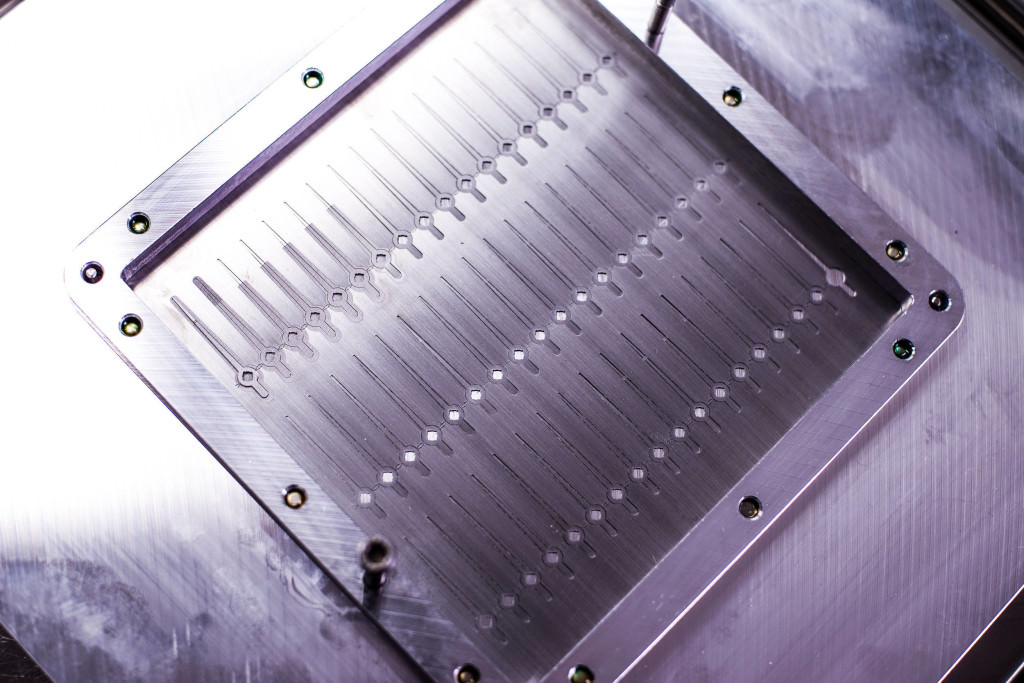

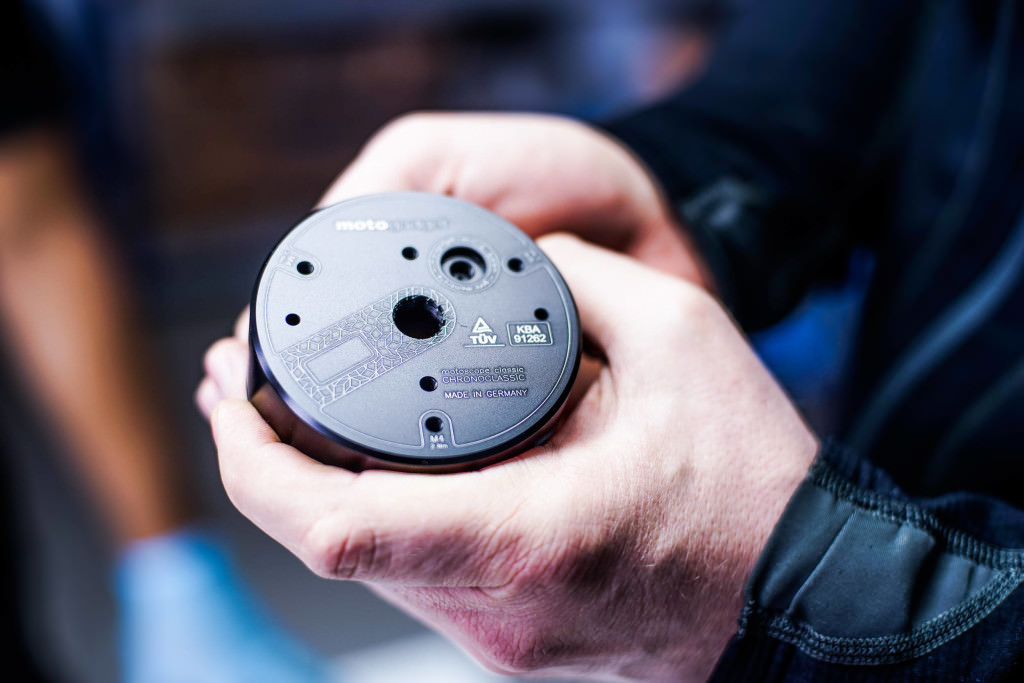
Each speedometer or tachometer starts its life as aluminum housing. A powerful fiber laser is used to create the engravings on the back of them (which include an elegant diamond design from the famous mathematician Roger Penrose). It is as it sounds – this is aerospace technology.
Behind courtyard windows in the German capital, orange robots spread over various floors seemingly dance to a rhythm as they work hard at creating high-quality components. Head honcho Garrit loves planning such highly complex facilities. The guys at motogadget are true nerds.
Yet beyond the high-tech glitz, motogadget always remains focused on the tough everyday tasks involved with motorbikes. This is why each housing is made from a machined, brushed and anodized light alloy and features a vent valve with a Gore membrane. This prevents dust and moisture making its way inside. Fogged up instruments are also now a thing of the past.
A laser is used to customize the lens, which is made from special plastic boasting a particularly scratch-resistant finish, and a thin polarizing film featured on the integrated digital display. This is the only way to implement the low tolerances in large-scale production.
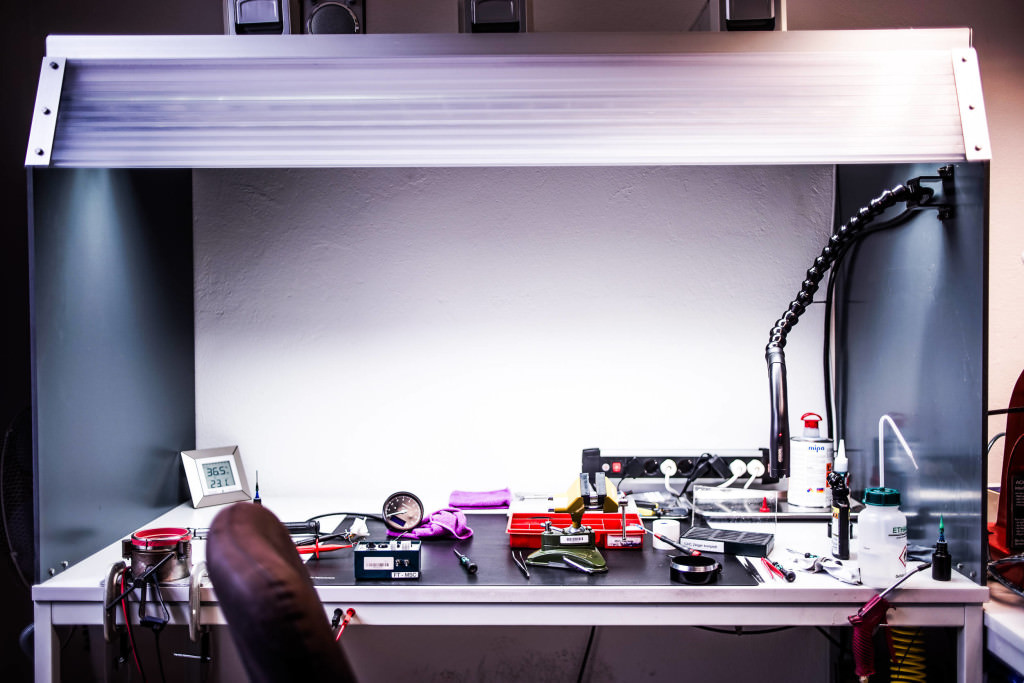
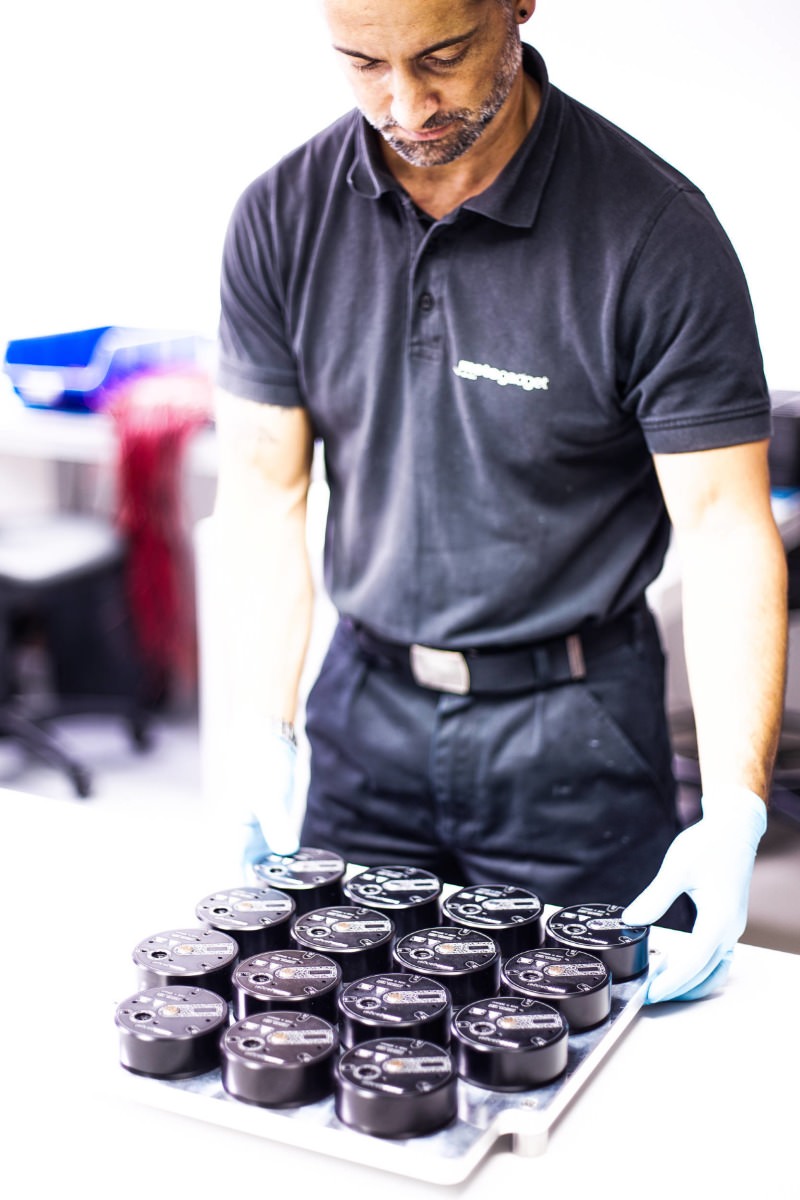
Now the actual manual labor can begin. I am taken to the assembly room by Marcel, who has been working at motogadget for over six years. As a certified industrial mechanic, he knows the analog instruments like the back of his hand and is in full control of what he is doing. Yet despite his considerable experience, he has to be aware of endless minor details. This is because precision, neatness and a perfect finish are the be-all and end-all in assembly. Therefore, assembly takes place on well-organized worktops. The indoor air is continually filtered and removed by suction. This is the only way to create an efficient working environment that is free of dust. This should put right those who think employees here work using dirty workbenches in an improvised manner. All tools are labeled and can be found where they belong.
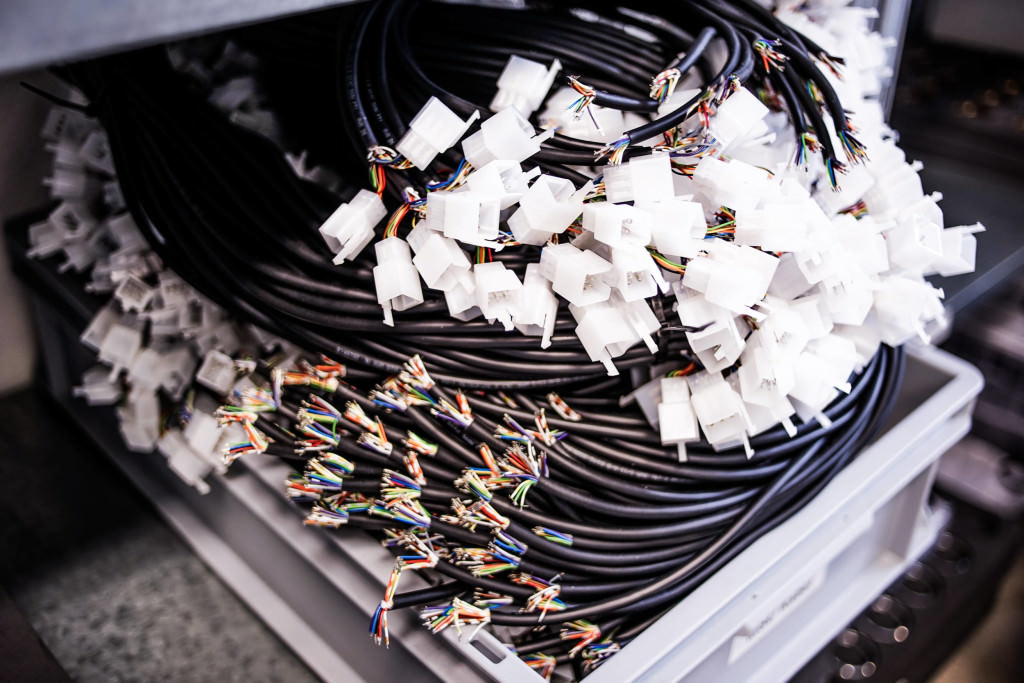
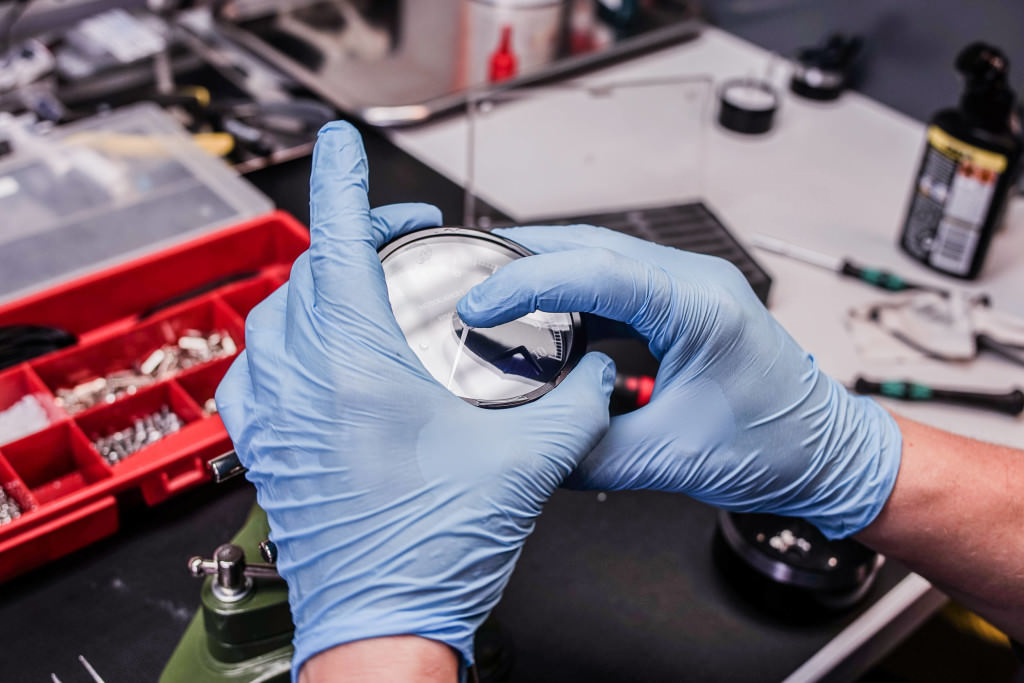
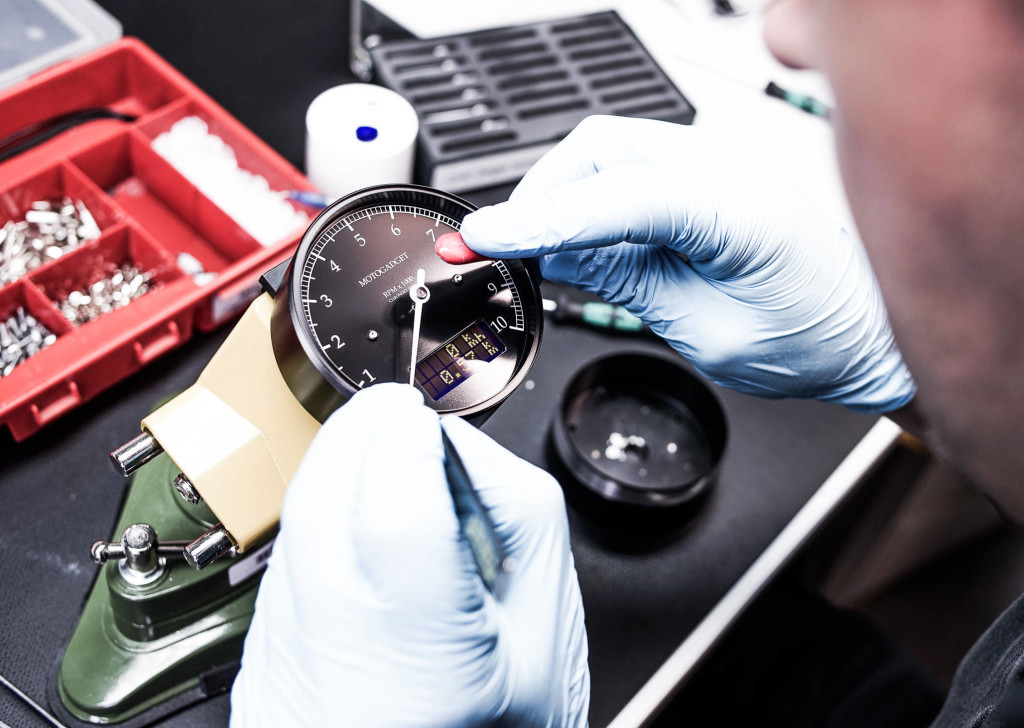
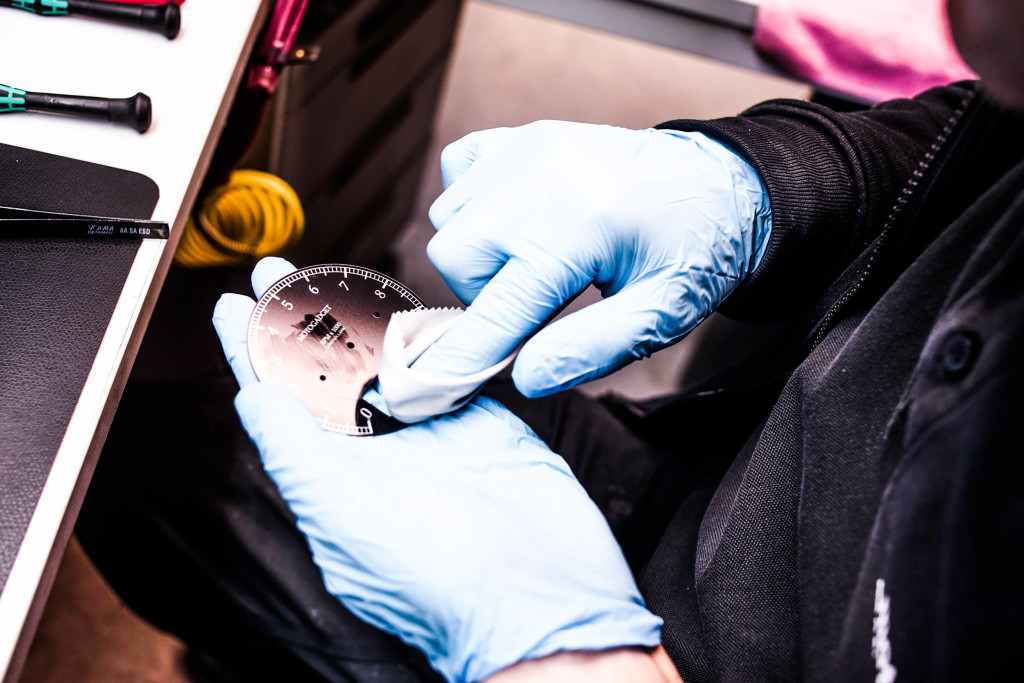
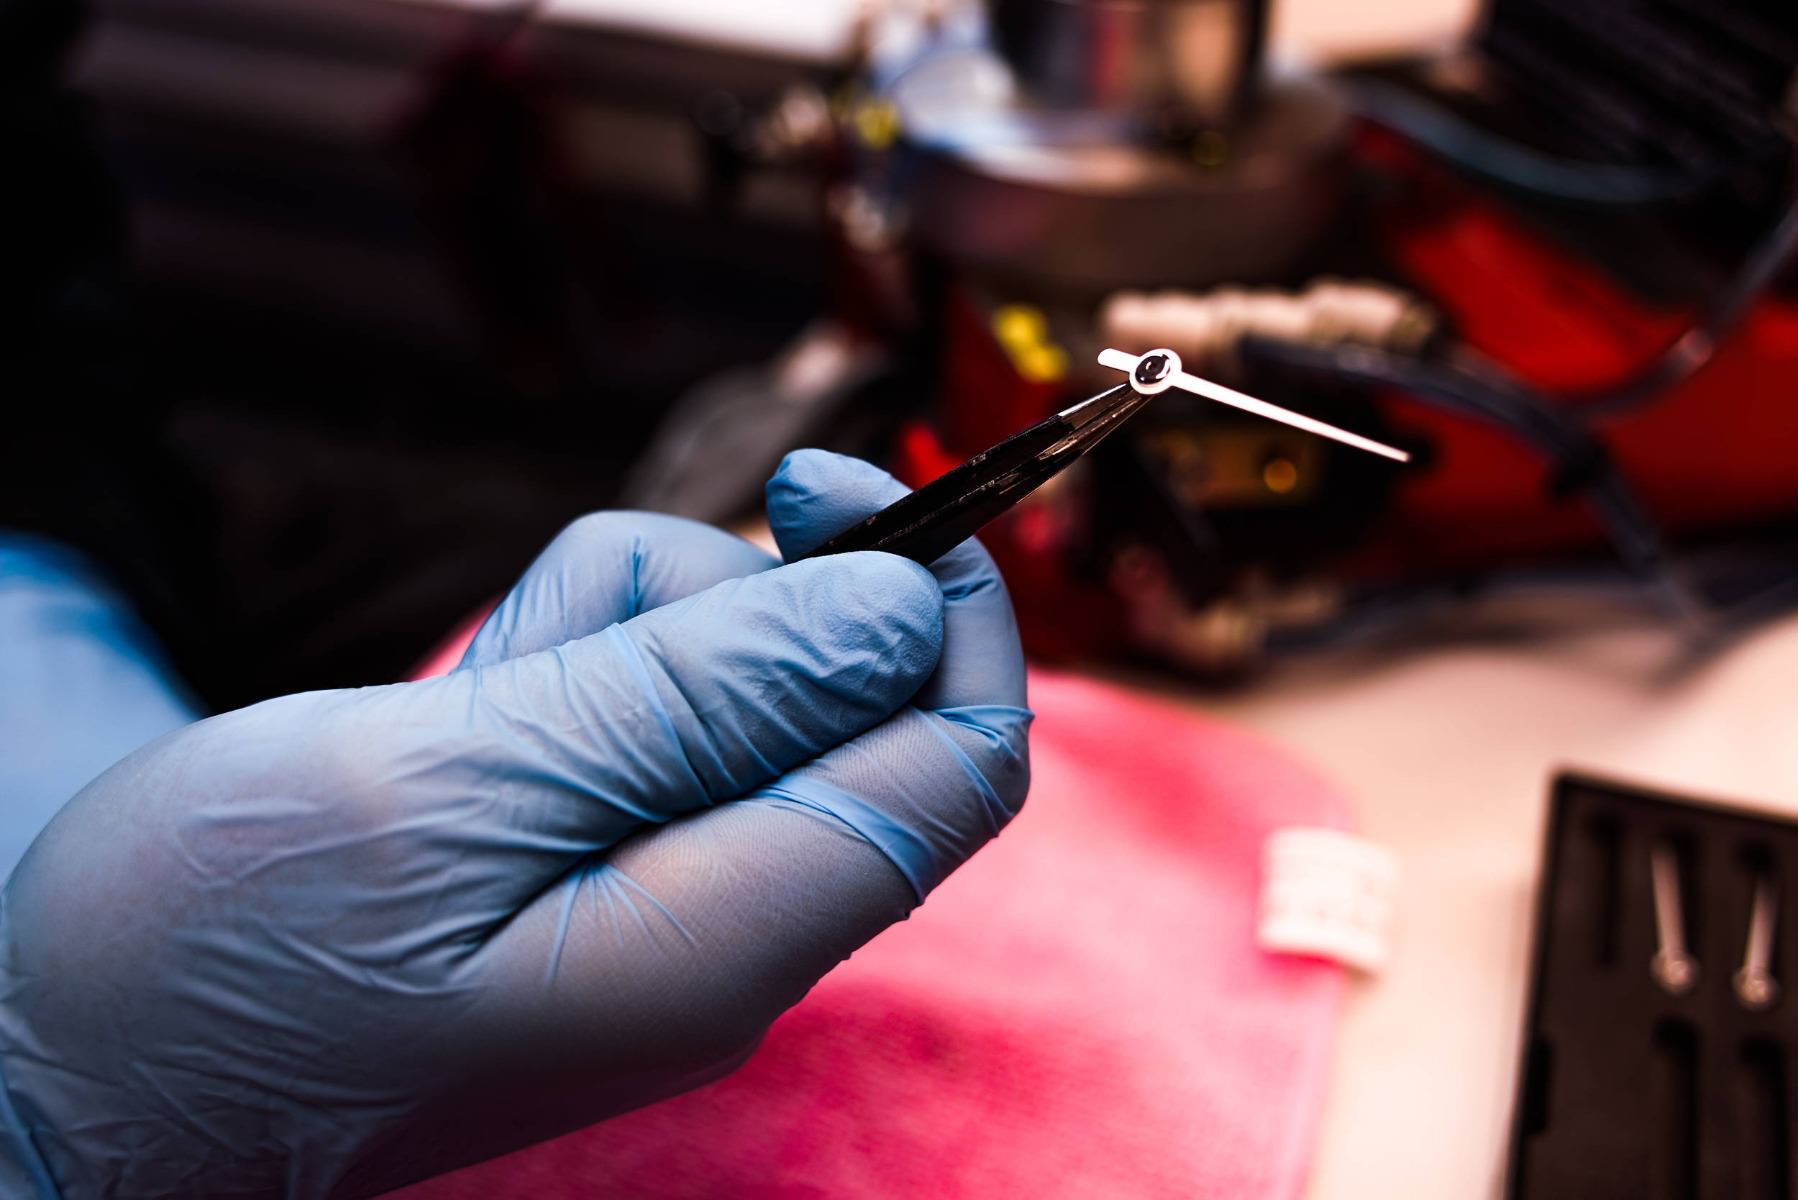
Marcel first attaches the membrane to the housing before installing several screw fittings and preparing the cables. The small hub, which is only several millimeters in size, and the stop for the pointer are polished by hand for a high gloss finish before they are cleaned with meticulous care. Those with two left hands would have already failed at this stage. The pointer needles, which are manufactured elsewhere, are first given a coat of white paint. A special fluorescent paint is then applied to their tips so that the pointers light up in the dark. This requires patience and a steady hand. Yet Marcel is a master of his art and applies wafer-thin spots of paint to the tiny pointer tips. One thing is for sure: Marcel won’t be giving away the recipe for the fluorescent super paint. Held in delicate pliers, the two components are now pressed together with gentle force.
Now we move on to the electronics room. This is where an electrician with analytical skills is needed instead of a calm watchmaker. Marcel can do both though. After testing the digital display, he solders it and programs the PCBs using a computer. It looks as if he could do all of this blindfolded. The main cable and background foil are then placed where they belong in the instrument. With a flick of the wrist and after short wait, the intermediate test on the computer is successfully completed. However, no one fits a half-finished instrument to their custom bike. We have to go to final assembly to see how the muddle of electrical parts are brought together to create a stylish tachometer. The second part of this background report is coming soon. (Text and photos: Sven Wedemeyer)